I had the opportunity to facilitate a workshop focused on a couple more advanced page editing options. We investigated how to create responsive tiles and creating tabbed pages. The purpose of these options is to create a visually engaging, responsive, and accessible page. The code to create tabs is based on what I found on this page. The code to create the responsive tiles was created through experimentation based on information gathered across many pages and forums.

Code Examples
A snippet of the tiles HTML code for the tiles/buttons is below. I have separated each element with a line break to see each more clearly. This is followed by an explanation of what each piece is doing.
<div id="container">
<div id="button1" style="width: 32%; height: 300px; float: left; min-width: 300px; margin-right: 10px; margin-bottom: 10px; padding: 0px; border: 1px solid #dddddd;">
<h2 style="width: 100%; background-color: #004987; margin: 0px; padding: 3px 0px; font-size: 1em; text-align: center; color: #ffffff;">TITLE 1</h2>
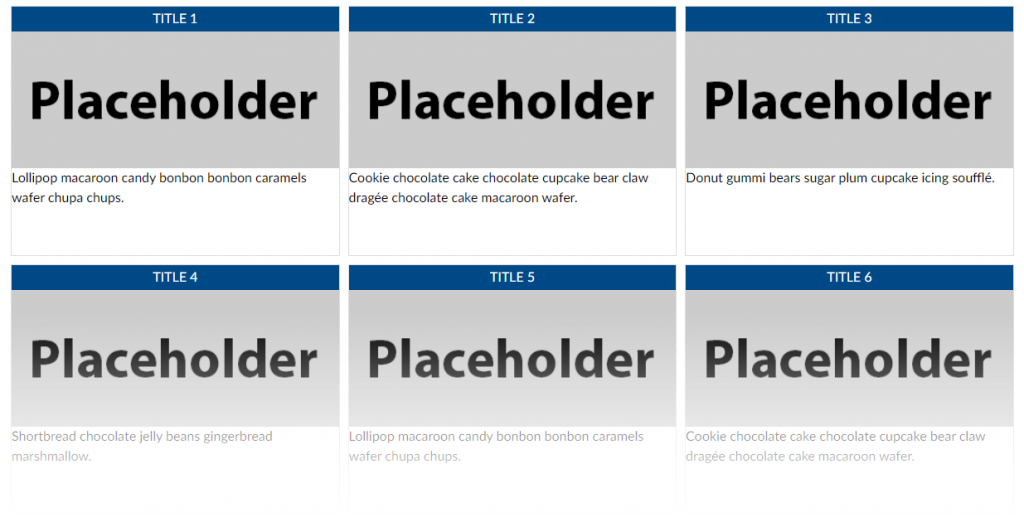
<p style="margin: 0px; padding: 0px;"><img id="315178" style="width: 100%; display: block; margin-left: auto; margin-right: auto;" src="https://lawrence.instructure.com/courses/3249/files/315178/preview" alt="placeholder_360x150.png" data-api-endpoint="https://lawrence.instructure.com/api/v1/courses/3249/files/315178" data-api-returntype="File" /></p>
<p style="margin: 0px; padding: 0px;">Lollipop macaroon candy bonbon bonbon caramels wafer chupa chups.</p>
</div>
</div>The first div serves as a container for all of the tiles or buttons, which are each their own div. The id allows us to give each div a name as a reminder of its function.
Each tile or button uses the same structure:
div – an opening div tag to define the button structure.
h2 – a heading to contain the button title.
p – a paragraph to contain an image.
p – a paragraph to contain a link and/or description for the button destination.
div – a closing div tag.
The width of the div is set as a percentage of the total page width. You can change this based on how many buttons you want to be tiled horizontally based on the overall page width. You can edit the height as you need/want. The min-width, margin-right, and margin-bottom allow the divs to tile correctly as the page becomes smaller (or on mobile). I recommend leaving these as they are. You can elimiate the border if you want by setting the width to “0px”. You can also change the color of the border if you want by entering a different HEX color code.
The h2 creates a heading for the button. You can remove this line if you do not want it. You can edit the background and/or text color by changing the HEX color code for the “background-color” and/or “color” element.
The first paragraph tag contains the button image. The “p style” allows the full image to be displayed without any space between it and the h2 heading. The image styling (display: block; margin-left: auto; margin-right: auto;) centers the image in the paragraph.
This last paragraph contains the link to a page or other course element. The “text-align: center” style centers the text in the paragraph.
These are followed by each of the closing div tags.
Let’s turn to the tabbed pages. Here is the code:
<div class="enhanceable_content tabs">

<ul>
<li><a href="#fragment-1">PUT TITLE FOR TAB HERE</a></li>
<li><a href="#fragment-2">PUT TITLE FOR TAB HERE</a></li>
<li><a href="#fragment-3">PUT TITLE FOR TAB HERE</a></li>
</ul>


<div id="fragment-1">PUT THE CONTENT FOR THE FIRST TAB HERE</div>
<div id="fragment-2">PUT THE CONTENT FOR THE SECOND TAB HERE.</div>
<div id="fragment-3">PUT THE CONTENT FOR THE THIRD TAB HERE</div>

</div>
Make sure to edit the tab titles in HTML mode and not in the rich content editor. Doing the latter may introduce display issues with your page. You can add more tabs by copying and renaming each list (li) item. Make sure you copy from the opening li tag through the closing li tag. You will also need to make sure to add a corresponding content area.
Recommended workflow – create separate pages in Canvas for each tab content. Once the individual page is complete, copy the HTML from that page into the “PUT THE CONTENT FOR THE NTH TAB HERE” location. This will allow you the flexibility of more easily working in the rich content editor with the content and preserve the page structure within this code
Resources
Text files and placeholder images may be found in this folder.